
Mac printer settings — default 4 × 6 size, darkness
Create a 4 × 6 paper size, make it the default, and set darkness and speed permanently with CUPS.
Quick way — presets
In any print dialog, set paper size to 4 × 6 in, then open the Presets menu and choose Save Current Settings as Preset. Pick that preset next time (macOS also offers Last Used Settings).
Create a 4 × 6 paper size
If 4 × 6 isn't in the list:
-
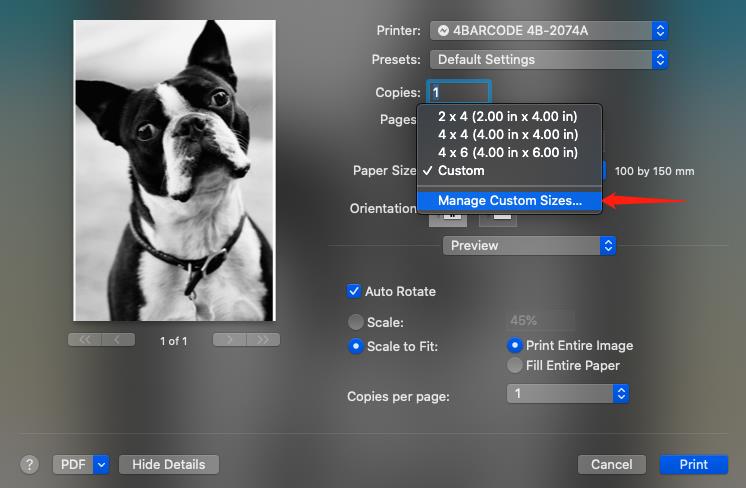
In the print dialog open Paper Size → Manage Custom Sizes.
-
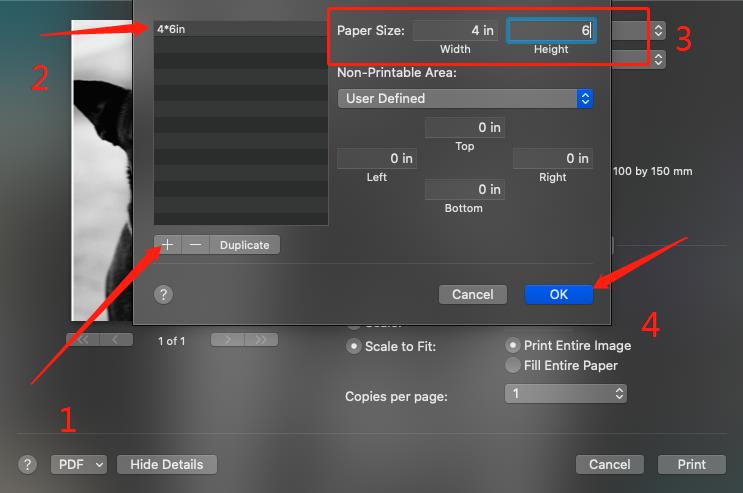
Click +, enter 4 × 6 in (or 100 × 150 mm), set all margins to 0 and rename it. Double-click the name to rename.
-
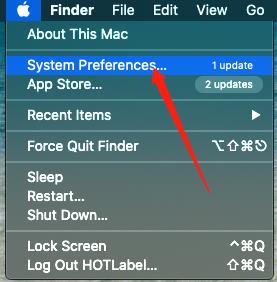
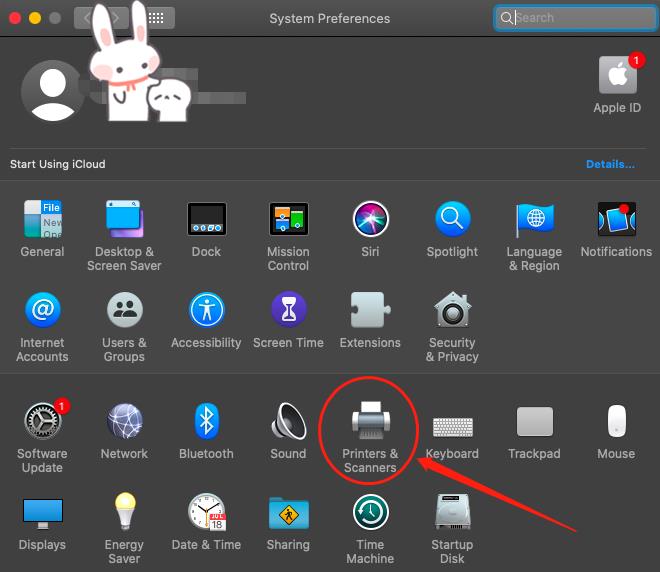
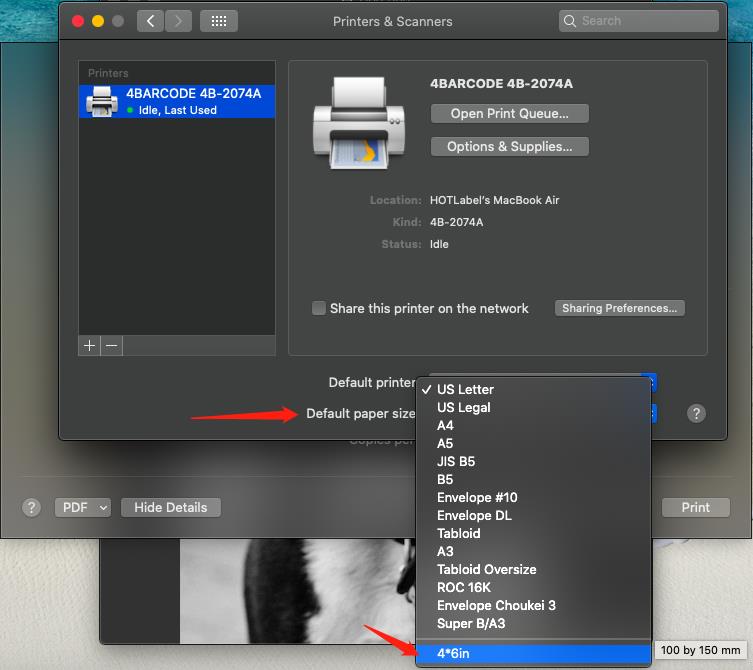
System Settings → Printers & Scanners → your HotLabel printer → set the default paper size to the new 4 × 6 size.
Permanent defaults with CUPS (darkness, speed, gap)
macOS's print system, CUPS, lets you fix the printer's default options so every app uses them.
-
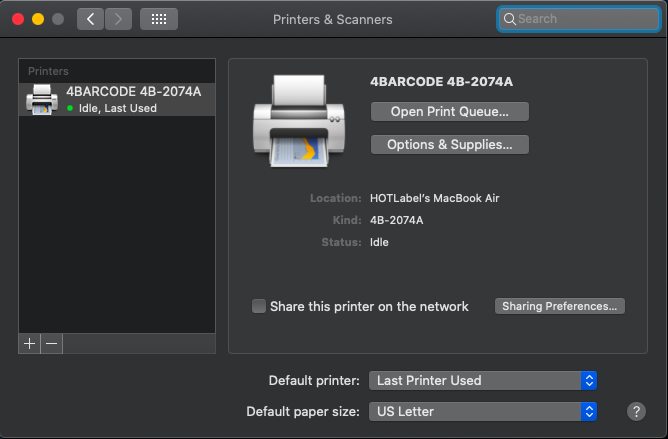
Make sure the printer is already listed in Printers & Scanners.
-
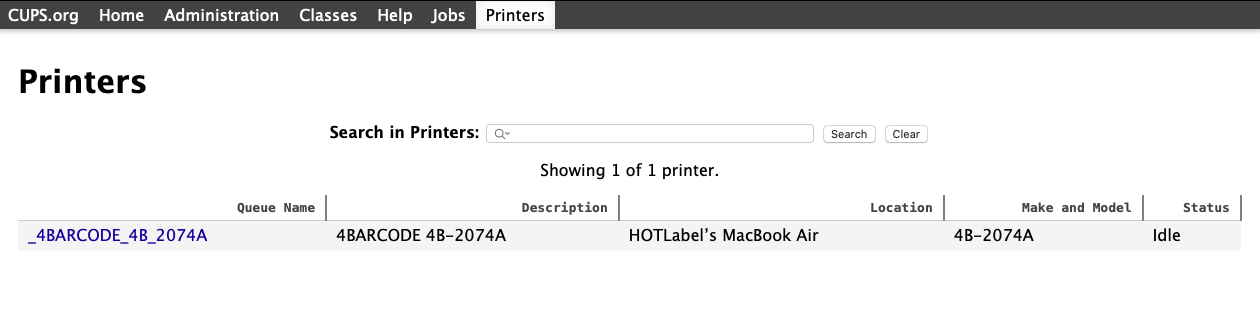
Open http://localhost:631/printers in Safari or Chrome.
If you see "Web Interface is Disabled", open Terminal (Spotlight → Terminal), paste
cupsctl WebInterface=yes, press Return, then reload the page.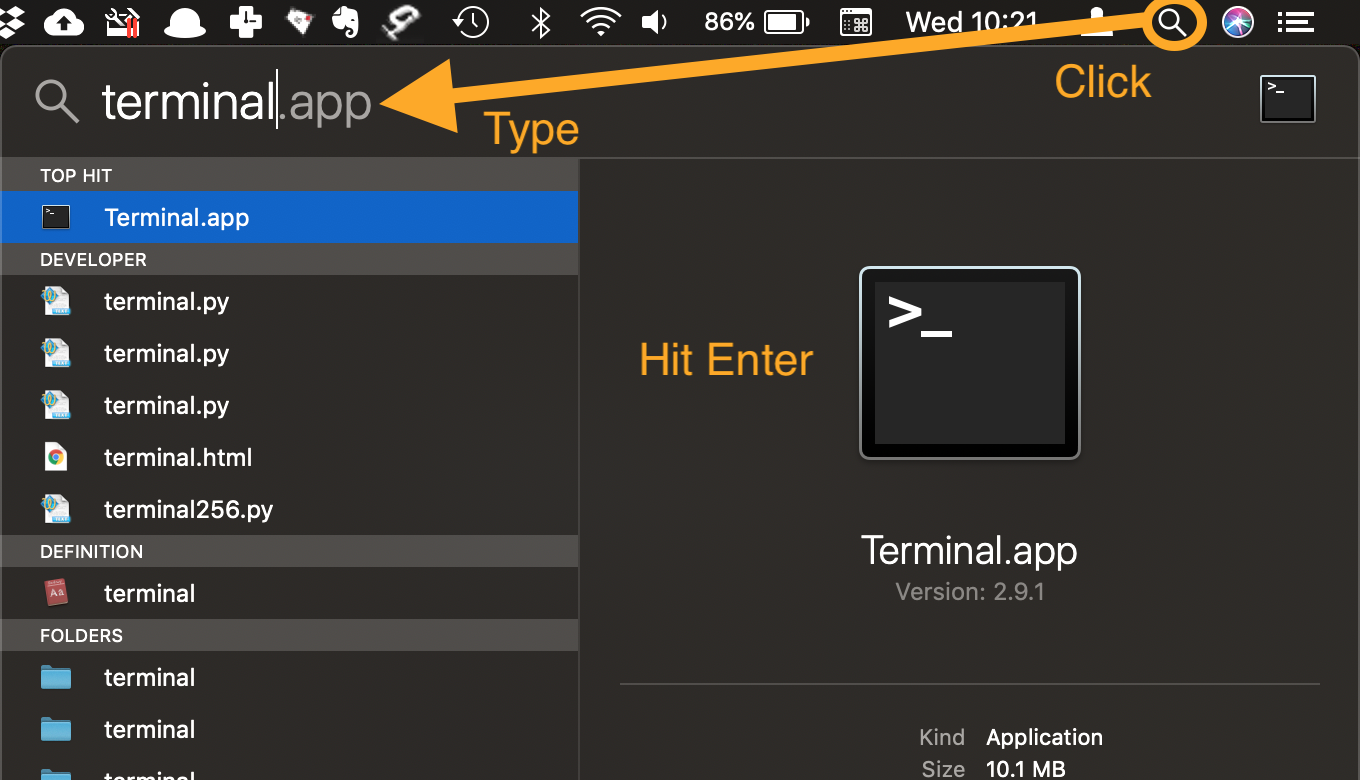

-
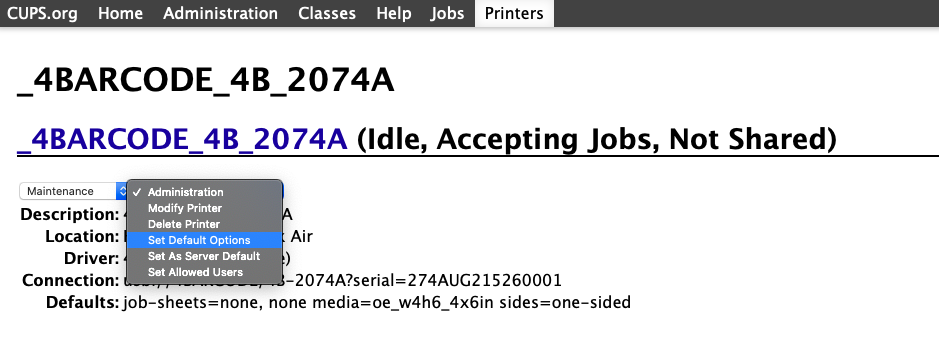
Click your printer, then Administration → Set Default Options. Sign in with your Mac username and password if asked.
-
Under General, set Media Size to 4 × 6 in (or your label size).

-
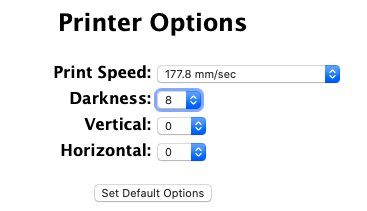
Under Printer Settings, adjust Darkness and Speed, and set the Gap height to match your labels if they skip.

-
Click Set Default Options.