Reset, calibrate, and stop auto-calibration
Button sequences for label calibration and a factory reset, plus how to stop the printer feeding labels every time it powers on.
Calibrate labels
Use this whenever labels skip, split across two labels or the light flashes red after changing rolls.
- Switch the printer off.
- Hold the feed button on top and switch the printer on while holding it.
- Release the button when the light turns red (right after the beep).
- The printer feeds a few labels and measures them. Done when the light is blue.
Shortcut while the printer is on: press and hold the button until one beep, then release.
Reset to factory defaults
- Switch the printer off.
- Hold the feed button and switch the printer on.
- Keep holding until the light turns blue (about 15 seconds), then release.
Stop auto-calibration on power-up
By default the printer feeds three labels and pulls them back every time it starts. If this wastes labels or causes jams, turn it off (Windows only).
Download Diagnostic Tool 1.029 (0.2 MB)
-
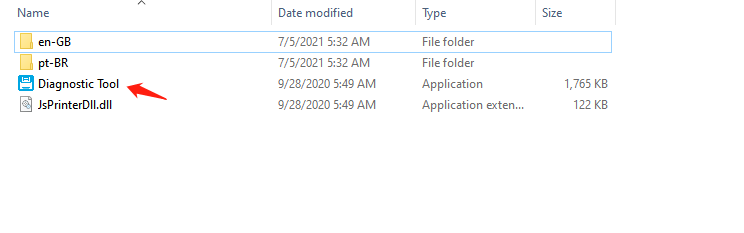
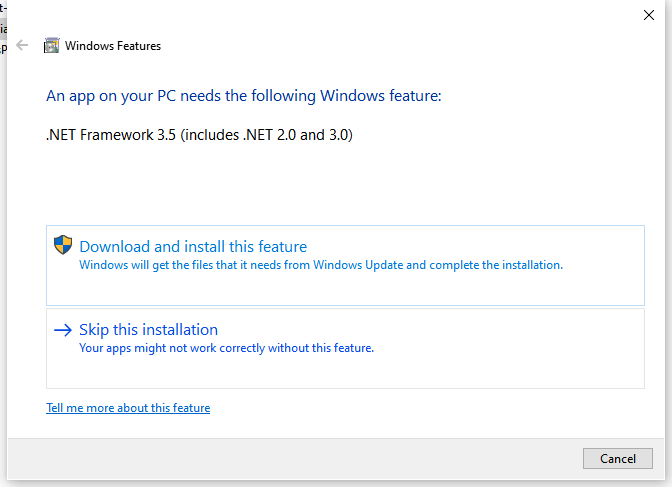
Extract the file and open the Diagnostic Tool. Allow the .NET feature install if Windows asks.
-
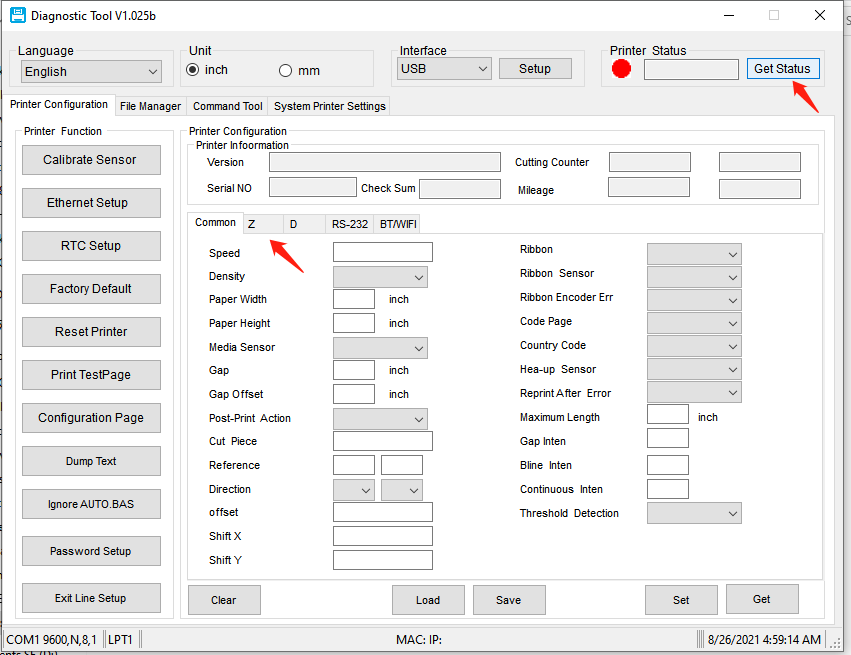
Click Get Status, then Z.
-
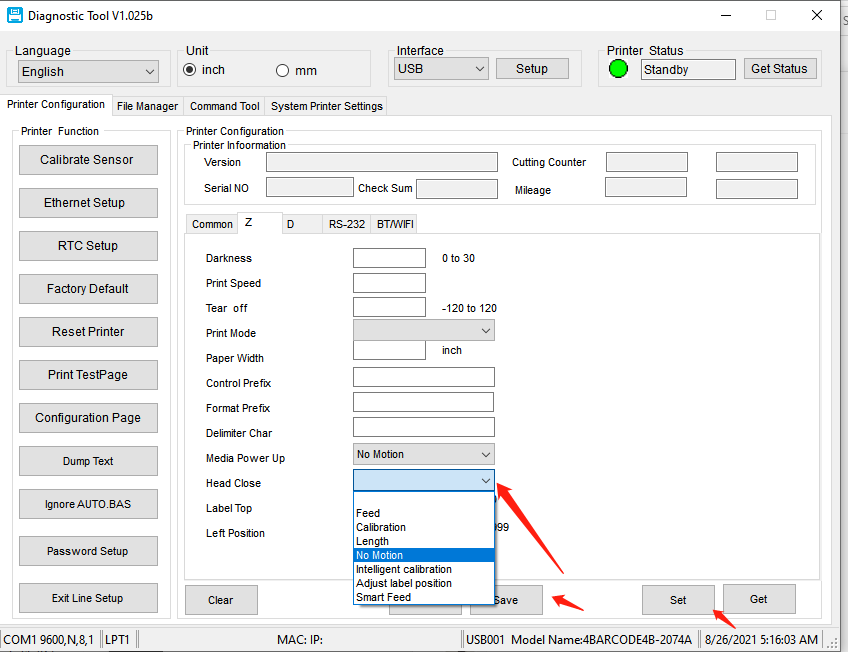
Set Media Power Up to None.
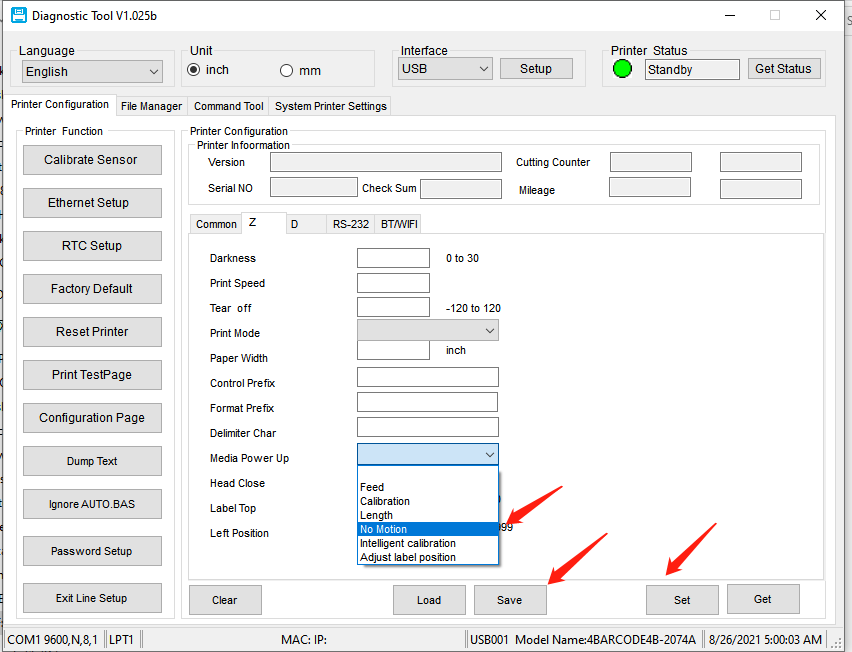
-
Click Set, then Save. The printer no longer feeds labels at start-up.
Optional: set Head Close to No motion so nothing feeds when you close the lid either.